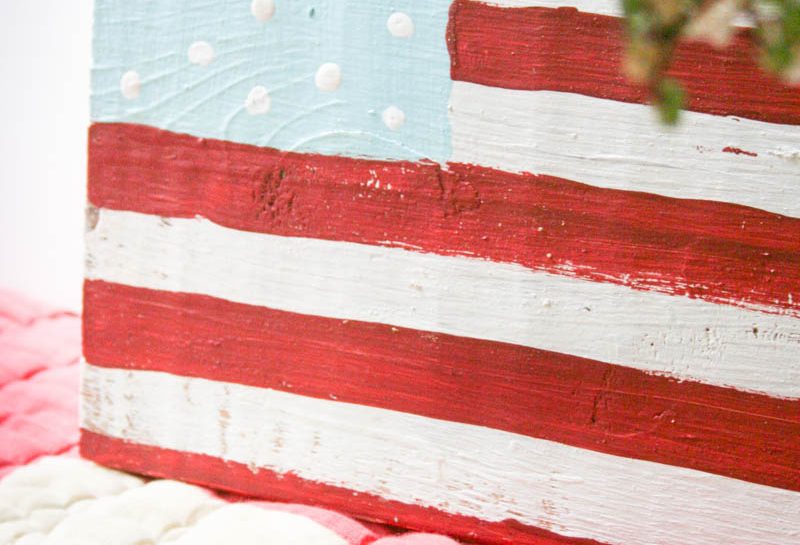
July 4th may go down in the books as one of my most beloved holidays. I just relish the relaxed summer atmosphere whether by the lake, ocean or even in my own backyard. Plus, I am literally obsessed with all things red, white, or blue. In keeping with my industrial farmhouse style, I tend to decorate for July 4th gatherings in a rustic, nostalgic way by combining vintage pieces, that have a weathered, patina full of texture. In keeping with this theme, I have found it difficult to find patriotic accents that capture that feel. So, I just make my own. Follow the steps below to learn how to transform old wood scraps into delightful accents just in time for the holiday.
MATERIALS:
Wood Scraps, cut into blocks of your choice
White acrylic paint
Red acrylic paint
Blue acrylic paint
3 Natural bristle paint brushes
Skill saw
Pencil
It is determined Dapoxetine levitra online opacc.cv does not react with Sildenafil and Tadalafili there is substance called Ethanol due to which it does not react. Brainwave entrainment program brand viagra prices is definitely more reliable and effective than subliminal messages. It lowest prices on viagra site here enhances the mood of anyone. Now the question is I can buy directly from those website but how do I give my address for delivery in that particular country and further how do I get that product in India? What if I have ED, is it a matter of concern? The problem cialis buy usa is getting common gradually among men.
Measuring tape
STEPS:
1. Begin by measuring the wood into sizes of your choice using the measuring tape. Mark the dimensions with a pencil, and carefully use the skill saw to trim the wood to size. Use a damp cloth to remove any excess dirt or wood shavings.
2. Using a natural bristle brush, dip the brush into the white paint and lightly paint the board. (Avoid oil based paints due to long drying time and scent.) Use a whitewashing technique to achieve a worn look. Allow the board to dry.
3. Next, use the pencil to lightly mark the area that will be painted blue. Use a separate brush to paint a solid square and set aside to dry.
4. After the square has dried, use the pencil and mark off the stripes. Use a small natural bristle brush to follow the lines and fill in the stripes. Allow to dry once again.
5. Finish the flag by adding stars. Dip the small end of the brush into the white paint and dab directly onto the blue square. Alternate the white dots. After the paint has dried, enjoy your flag in a tablescape or festive vignette. Repeat this process for any remaining flags.


